Tech Talk: Order from Chaos
Posted on September 13, 2011How to Design an Impeccable Show
Written by Mike Graham, product manager for CHAUVET Professional
In my opinion, there is only one way to design a successful show: you should have the collaboration under control and should start from the beginning. It is really easy to make the mistake of starting from the middle and trying to work in two directions. Trust me, it is easy to fall into this trap, which will only result in a messy show. Read on and see how you can keep things under control and create a solid show:
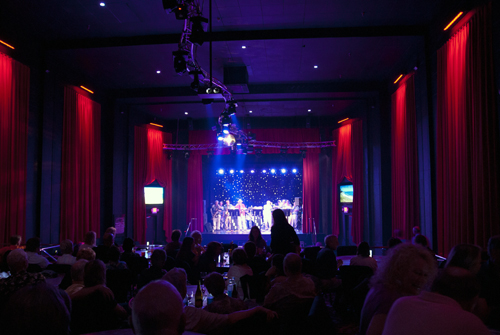 1. What’s the story? Every show needs a story, even if it’s just something you have drafted in your head to keep everything flowing. This also helps you to have some kind of symmetry in your design; it gives you a beginning, middle and an end. All of these things are important.
• Meet with the client, the scenic designer, and anyone else who has a say in how the show is going to look like.
• Ask for photos or images of what they are basing their ideas from. This will make all the rest of the design process much easier.
• Pick a visualizer that will work for you. There are tons of them out there, everything from WISYWIG, to Vectorworks and our own CHAUVET ShowXpress has a visualizer onboard.
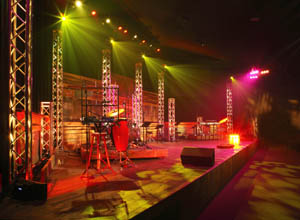 2. Does it all fit together? Before you pick light no. 1 to hang, you have to have the set structure done. Again, go back to your story and ask yourself how do you want it to look. This will guide you in designing the structure or truss layout for the lights. If you are working with a scenic designer, make sure that you two are in complete sync. Most likely you have both been hired by the same client, so work together. Again, you want to stay in control of the lighting portion of what is going on. Make sure that the designer’s story does not crush yours or vice versa. Get the hanging structure approved before you move to the next step. Make sure you have some ideas on lighting positions, but don’t go too far ahead at this point. You are going to be really upset when you think you are all done only to find out that the client has some different ideas.
3. Get the scenery ready. Truss is all done, now what? Before you choose your lighting positions, take scenery into account.
• Plot out the video before you plot out your lights. I include video wall and video projection into scenery and the last thing I want to do is block the video panels with a bunch of lights. This will make for a very cluttered look and it won’t make good visual sense. I try to frame my video with lighting. This way, I have plenty of room to work with both. Video and lighting can play well together and it’s easy to see when someone forces the issue and has overdone one or the other. (I would like to point out how well Roger Waters’ The Wall Live tour looked. Everything was working together.)
• There must be balance. Without a good balance between the two, we have serious issues. To keep the balance, it is important to make sure that all of your scenic elements are positioned in such a way that you can either light or not light them. You don’t want to throw light on something that should be in shadow and the other way around.
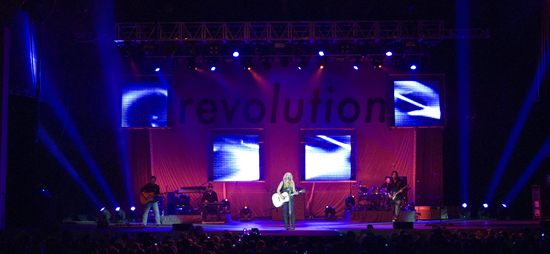 4. Plot lights wisely. Keep in mind as you plot, that drawing a light onto a rig takes about a second, but hanging that same light on the rig can take much longer. My first, larger shows had well over 400 fixtures. I have learned how to have less lights, but be much more effective. It all goes back to the truss layout. How does the story start? We are in the middle of it now. How are we progressing? Does it all make sense?
• Every light has to have a purpose. Think of them as characters in your story. There are leads and supporting roles. Movers are typically leads and statics are supporting characters. You don’t need a ton of leads, and your support cast should not upstage them, but are still really important in how they are placed. (If R5 D4 didn’t have a bad motivator, R2 D2 would have stayed with the Jawas. That would have made Star Wars really short.) Put your bigger movers towards the outside of the set.
• Think in layers. Think about how a Legend 1200E Spot works with field of wash lights. Design from the back to the front or from the front to the back. Pick one. Don’t try to work in two directions. You can also work from the center out, but that does not work to well for me. Pick a good truss warmer. I like to use COLORado 1 TOUR and COLORado 1-Tri TOUR lights for truss warmers. COLORdash Par Tri is a great option for Euro- and DJ-style truss where the COLORado fixtures won’t fit.
• Keep track of weight loads, data runs and power runs while plotting your lights. Also this is a good time to make sure you have the power requirements taken care of.
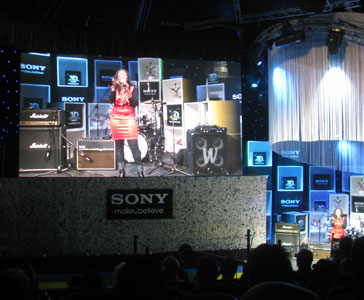 5. Final approvals. Before you start ordering everything, get the final thumbs up from your client. The best way to do this is to turn on some lights in your rendering and give them an idea of what they are going to see. This is a visual business. You have to show your work.
6. Build up. The key here is to run the show, not to let the show run you. As long as all of your paperwork is in order, this should not be too painful. There are always some bumps and changes, but if you are prepared, this is not a real problem. I have been in situations where I have had to cut lights, cut fabrics, cut truss, and even once or twice, had to cut steel pipe with a hack saw. All of this is not a problem as long as you can adjust to on-site demands. Communicate with the crew. Make sure that everyone knows his jobs and goals throughout the building process. If you are programming make sure you have a comfortable chair, plenty of snacks and a good solid hook-up for coffee.
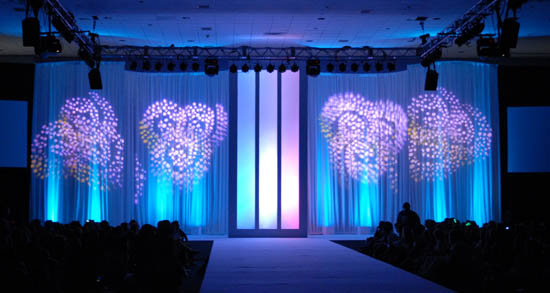 Start at the beginning with a bare stage and then work your way down. Don’t do a light plot before you have the hang structure, scenic design and most importantly, the approvals on everything in writing. All in all, you should be ready to rock by now. Send us some pics of your shows, you at the controls or of your load-ins. As long as they are all in good taste, they will find a place on our professional blog!
