Connecting the W-DMX Micro T-1 TRX G6 to a Maverick fixture
Posted on May 11, 2023
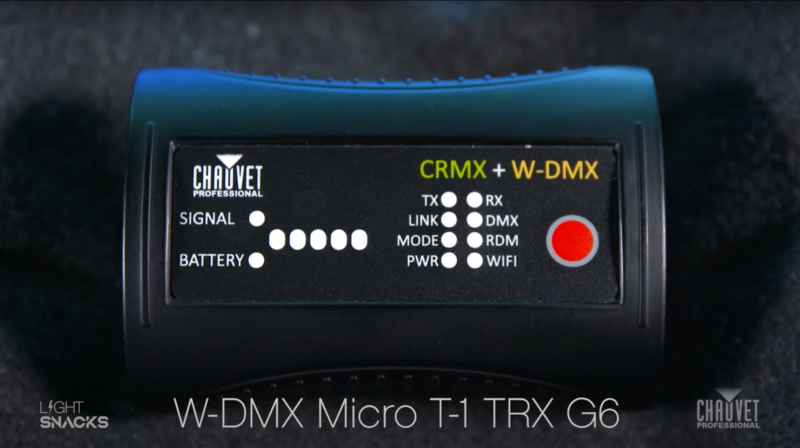
This compact 2.4 GHz transceiver box can be set up to transmit or receive 1 universe of W-DMX, CRMX and RDM signals in order to operate a fixture or rig wirelessly. With a range of 650 ft. (200m) and adaptive frequency hopping, this small device offers a robust solution for wirelessly controlling both W-DMX and CRMX enabled fixtures.
Designed to be used directly with any Maverick fixture, linking the Micro T-1 TRX G6 is a straightforward operation. We have created a two-part Light Snacks series to help walk you through the process, so be sure to check out those videos. Now let’s jump into the steps and important notes to keep in mind when configuring the box and linking fixtures.
If you’ve used previous versions of the Micro T-1, one of the first things you’ll notice is the new WIFI indicator on the front panel. This new added feature is only for set-up. With WIFI on, you can access the box through the W-DMX Configurator app (downloadable for iOS and Android). With this app, you can assign which version of W-DMX or CRMX that you want to use. We recommend that you leave the box in its preconfigured G4S mode, as this allows you to operate both CRMX and W-DMX enabled fixtures, which means you can operate your CHAUVET Professional fixtures without needing to change this setting.

Our first important note: Wireless DMX communication during operation requires that WIFI mode be OFF, as the same antenna is used to transmit WIFI and W-DMX data (the steps for turning WIFI on and off are detailed in the manual).
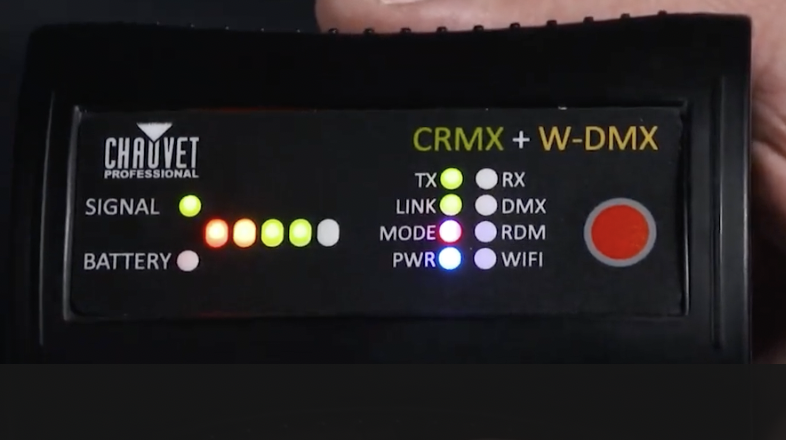
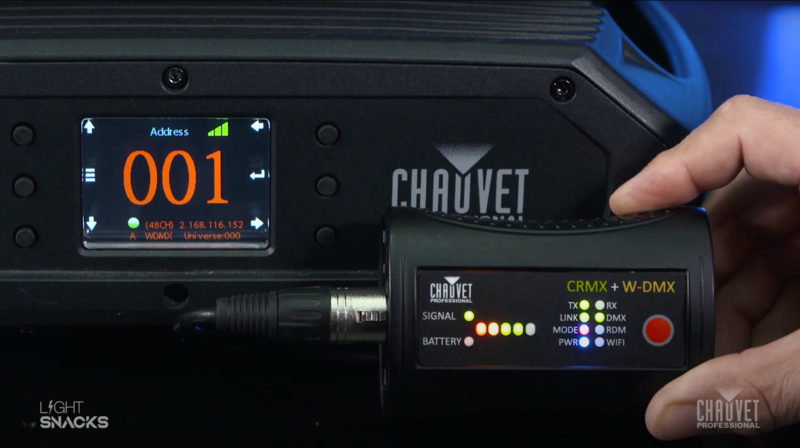
To begin the process of linking the W-DMX Micro T-1 TRX G6 to a Maverick fixture, first power on the box using the on/off switch on the side of the device. This can be done when operating with battery power or when connected to mains power. Once powered on, you will see the signal indicator illuminate. Make sure that you are in TX (transmit) mode. Then plug in the DMX cable from your DMX source.
For the next steps, we will configure the Maverick fixture before coming back to complete configuration of the box. On your Maverick fixture:
- Go into settings on the fixture.
- Set control mode to WDMX.
- Arrow down to WDMX Reset. Press Enter. Then select YES to reset.
And now for our second important note: If there is no DMX signal coming into the box, it will not connect to the fixture, so be sure the DMX cable connected to the box is receiving from a DMX source.
Returning to the box, check again that you are in TX mode, then press the Red button for one second to activate the LINK function (confirmed by a blinking LINK indicator). As soon as the link is successful, you will see the fixture react.
Please note our third important point: Holding the Red button for longer than a second will unlink the fixtures. Here is the process for linking and unlinking:
To unlink the box from the fixture, hold the Red button down for 3-4 seconds, and you will see the display on the fixture revert to a white wireless signal icon with a question mark. Holding the red button again for one second will re-link and the fixture display will again show a green wireless signal icon.
Now that you’ve been introduced to the basics of this versatile new box, be sure to refer to its product page and user manual for more in-depth information:
https://www.chauvetprofessional.com/products/w-dmx-micro-t-1-trx-g6/

Notes on TX (Transmit) and RX (Receive) modes:
The male DMX connector on the box is set up for Transmit mode. When using Receive mode, a gender conversion adapter will be needed (easily found in the marketplace).
To change from TX (Transmit) mode to RX (Receive) mode:
- Turn the box off
- Hold down the large red button
- Turn the box back on
- Watch the indicator change from TX to RX
- Let go of the red button
- Then power the box off and on again. Done!
- Follow the same steps to revert to TX mode
Notes on LINK indicator behavior:
When linking fixtures:
- Hold down the large red button for a quick second
- Watch the LINK indicator begin flashing
- Steady LINK indicator signals successful linking
When unlinking fixtures:
- Hold down the large red button for 3-4 seconds
- Upon release, the fixtures will be unlinked